
Prerequisites
- AWS Account with EC2 access
- Local SSH client (or use AWS Console)
- GitHub repository with your application
- Docker and Docker Compose knowledge (basics)
.envfile with environment variables
Step 1: Launch an EC2 Instance
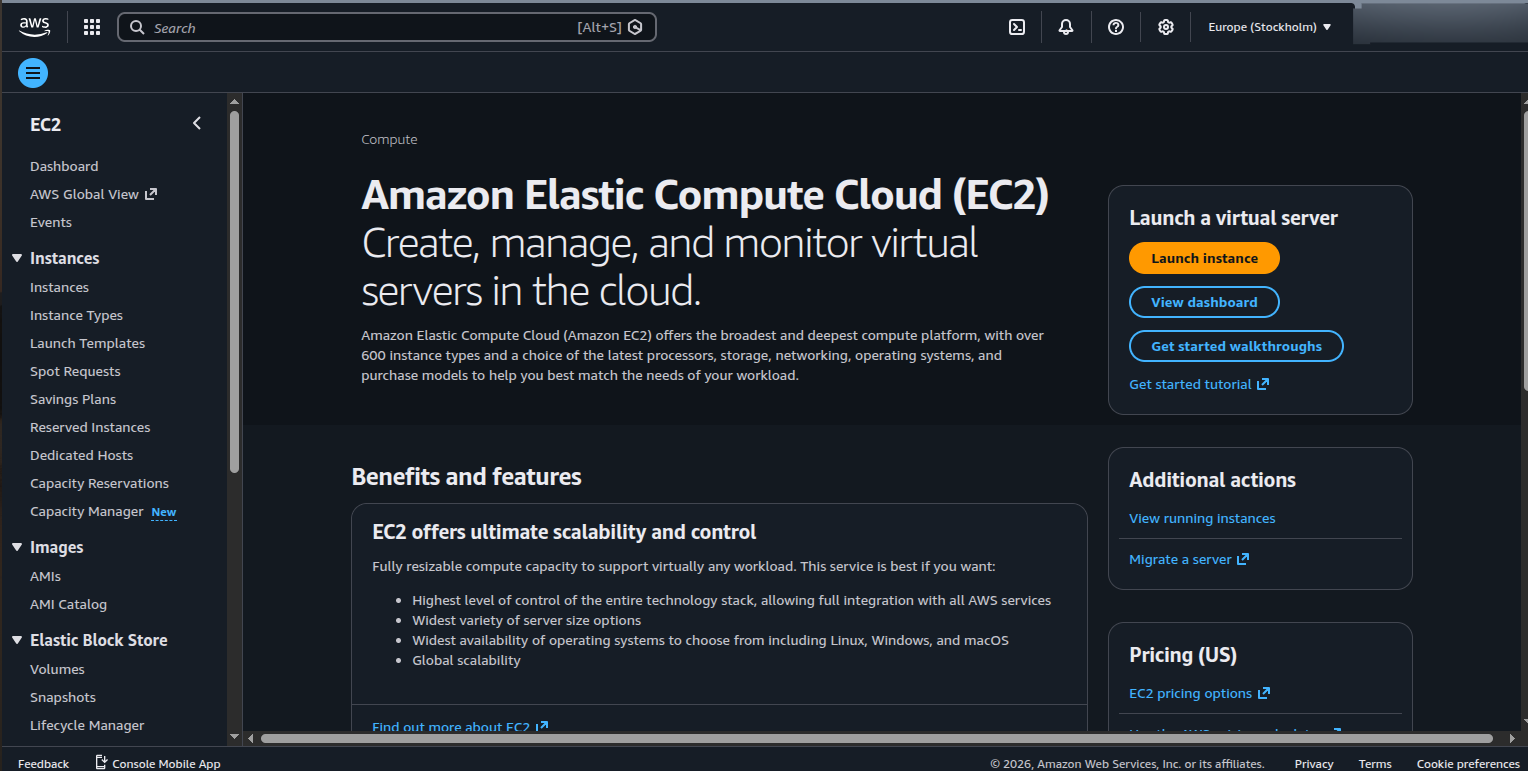
1.1 Create Instance
- Go to AWS Console → EC2 Dashboard
- Click “Launch Instances”
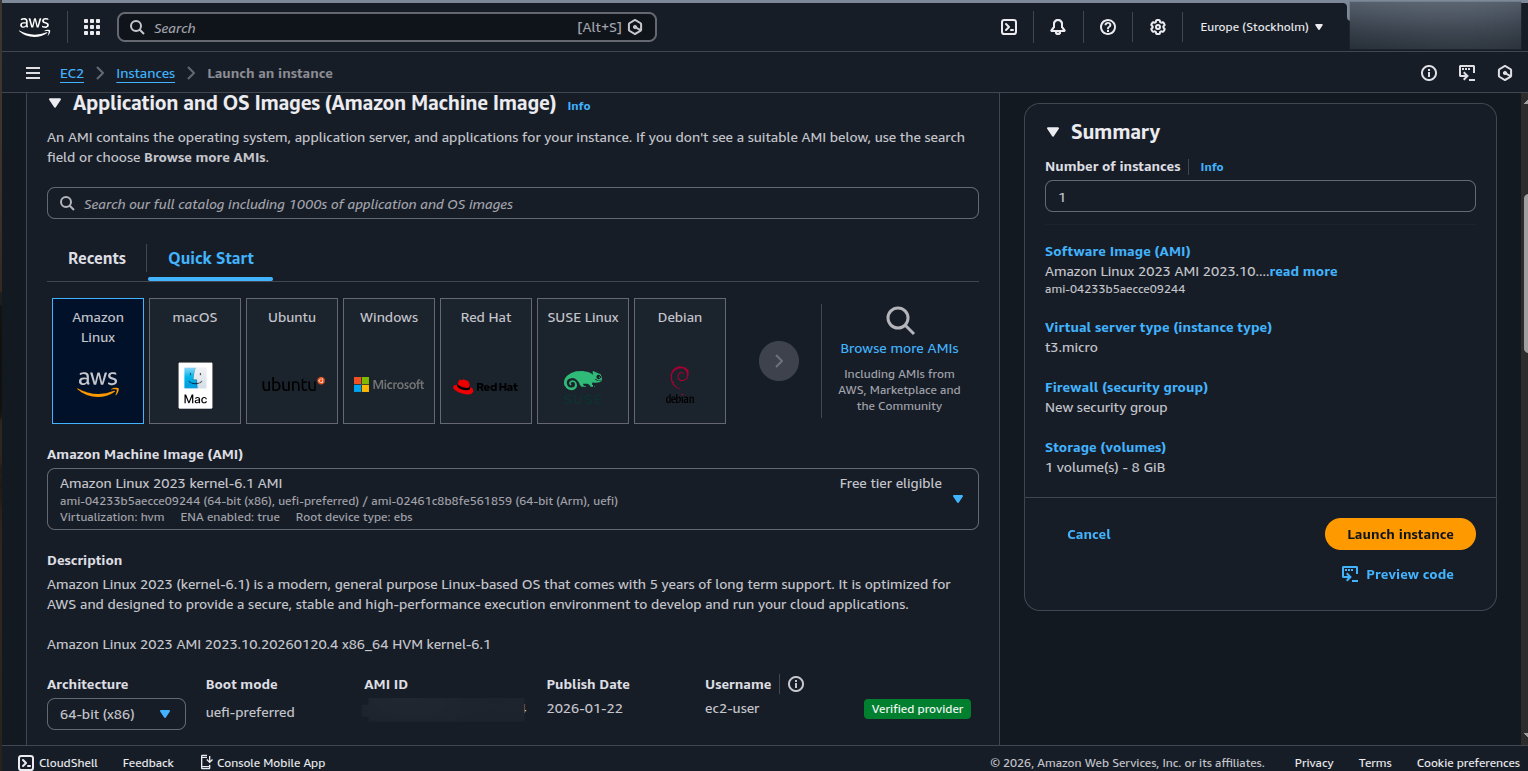
- Select an AMI (Amazon Machine Image)
- Recommended: Ubuntu 22.04 LTS (free tier eligible)
- Choose instance type: t2.micro (free tier) or t3.small for better performance
1.2 Configure Security Group
Configure security group to allow: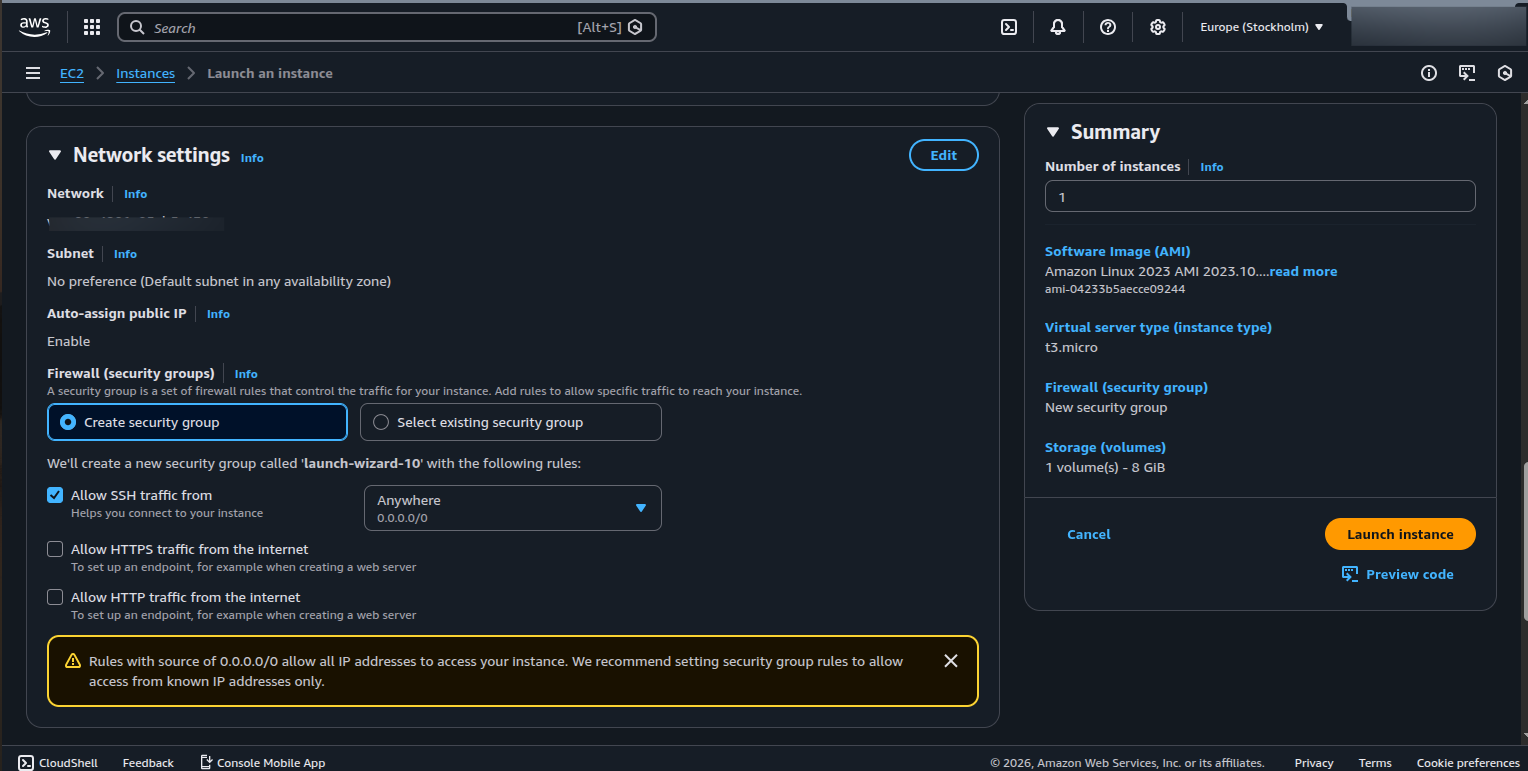
1.3 Connect to Instance
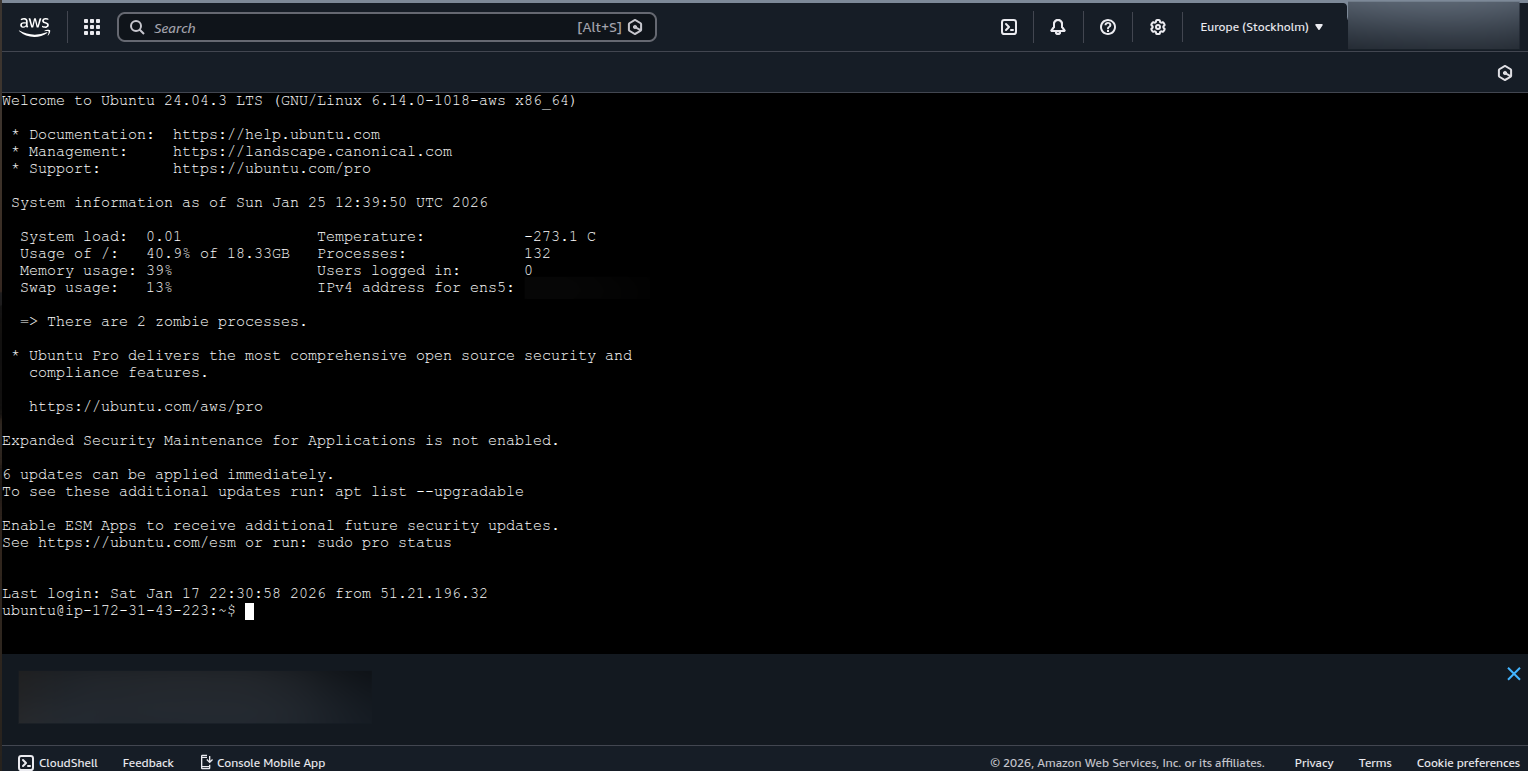
Option A: SSH from Local Terminal- Click instance → “Connect” tab → “EC2 Instance Connect”
- Browser-based terminal opens directly
Step 2: Update System & Install Dependencies
Once connected to your instance:2.1 Logout & Login
Step 3: Clone Repository & Setup SSH Keys
3.1 Generate SSH Key on EC2
3.2 Add Public Key to GitHub
- Go to GitHub → Settings → SSH and GPG keys
- Click “New SSH key”
- Paste the output from
cat ~/.ssh/id_ed25519.pub - Give it a name (e.g., “EC2 Server”)
- Click “Add SSH key”
3.3 Clone Your Repository
Step 4: Environment Variables & Docker Setup
4.1 Create .env File
Create a.env file in your project root with your configuration:
⚠️ Important: Never commit.envfiles to git. Add.envto your.gitignore
4.2 Load Environment Variables in Docker Compose
Update yourdocker-compose.yml to load from .env file:
4.3 Verify Docker Files
Make sure your project has:- Dockerfile - Instructions to build your app image
- docker-compose.yml - Orchestrate multiple containers
4.4 Build & Run
Step 5: Nginx Configuration (Reverse Proxy)
5.1 Install Nginx
5.2 Configure Nginx
5.3 Test & Reload
Step 6: Setup CI/CD with GitHub Actions
6.1 Create GitHub Actions Workflow
Create.github/workflows/deploy.yml in your repository:
6.2 Add GitHub Secrets
- Go to GitHub → Settings → Secrets and variables → Actions
- Add these secrets:
EC2_PRIVATE_KEY: Content of yourmy-key.pemfileEC2_HOST: Your EC2 public IP address
6.3 Test Deployment
Push tomain branch:
- Pull latest code
- SSH into EC2
- Stop old containers
- Build and start new containers
Troubleshooting
Environment Variables Not Loading
Problem: Environment variables are undefined in containersCan’t Clone Repository
Problem: “Permission denied (publickey)“Docker Permission Denied
Port Already in Use
Nginx Not Routing Correctly
Deployment Summary
Next Steps
- Set up SSL/TLS with Let’s Encrypt for HTTPS
- Configure monitoring (CloudWatch, Prometheus)
- Setup database backups and replication
- Implement health checks and auto-recovery
- Learn Kubernetes for scaling
http://YOUR_PUBLIC_IP